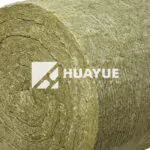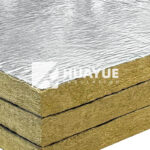








Installing rock wool in a ceiling is easiest before the ceiling lining is closed, but the correct method depends on the ceiling assembly, access, services, and required performance.
Measure each cavity, use the specified product, keep it dry, fit it continuously without forcing or crushing it, provide the required overhead support, and check services, ventilation, and control layers before closing the ceiling.
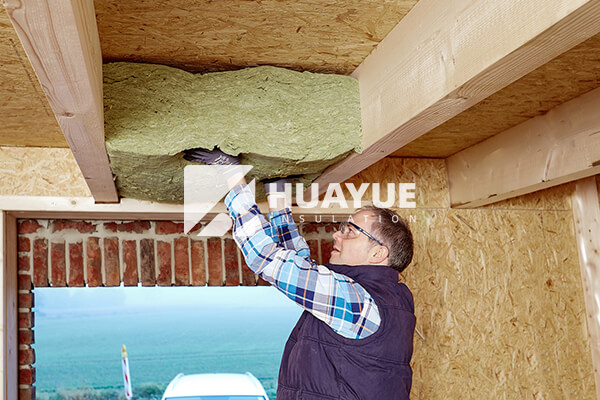
This guide focuses on ceiling-specific decisions. It does not replace the named product instructions, approved drawings, local building rules, or electrical and fire-safety requirements for the project.
Identify the Ceiling Assembly Before You Start
Ceiling insulation is not one universal detail. An attic floor, suspended ceiling, intermediate floor, sloped roof, and basement ceiling can require different materials, support methods, and moisture details.
Before cutting insulation, confirm where the thermal or acoustic boundary sits, what the insulation is meant to do, and which adjacent layers or services must remain continuous and accessible.

Start with the construction rather than the insulation label. Identify the framing or substrate, the cavity depth, the direction of gravity load, and whether the work is above a finished room, below a floor, at roof level, or above a suspended finish. Then confirm the intended outcome. A ceiling detail designed mainly to slow heat flow is not automatically the right detail for room-to-room sound control, a fire-rated construction, or an exposed soffit.
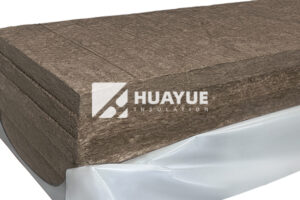
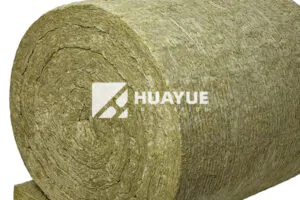
Review the approved product form and its current installation instructions. Batts, boards, rolls, and loose-fill products have different placement and support needs. The product thickness, facing, width, stiffness, and stated use must match the approved location. Do not substitute a wall-only board or a product with an unverified facing merely because it fits the cavity.
Walk the ceiling before installation. Record lights, junction boxes, cables, ducts, pipes, sprinklers, speakers, access hatches, bracing, and ventilation paths. Check for leaks, damp substrates, damaged services, or incomplete work that must be resolved before the cavity is concealed. If roof ventilation, firestopping, air sealing, or a vapor-control layer is part of the design, locate it on the drawing and identify how it continues at walls, beams, hatches, and penetrations.
Overhead work also needs a safe access plan and a clean cutting area. Follow the product safety data sheet and site risk assessment for handling controls. Cutting with a hand tool can reduce dust compared with uncontrolled power cutting; if a power tool is specified or used, effective dust control and ventilation are especially important. Keep uninstalled insulation dry and protected until it is placed.
Fit and Support Rock Wool Without Gaps or Compression
Accurate fitting is the core of rock wool insulation ceiling installation. Work from actual site measurements, not nominal framing dimensions or an assumed repeating bay size.
Cut each piece for a snug, continuous fit around the real framing and services, but do not force insulation into a shallower space or rely on friction fit when the ceiling detail requires permanent support.
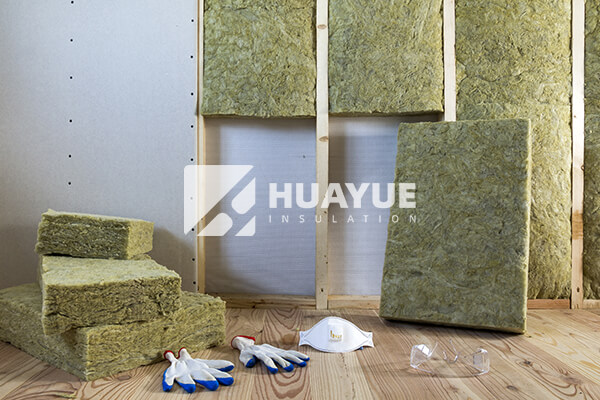
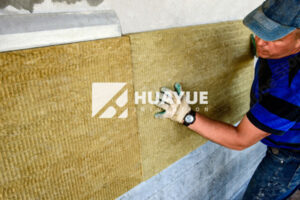
Measure each bay, especially beside perimeter framing, cross-bracing, changes in joist spacing, and service clusters. Cut on a stable surface with a suitable knife or insulation saw. Place full pieces first, then use accurately cut pieces for narrow bays, ends, and interruptions. A loose offcut pushed into a large void is not a substitute for a properly fitted piece.
When wiring, piping, or ducts cross the cavity, follow the approved detail for splitting, notching, or sequencing the insulation. The aim is to keep coverage continuous without pinching a service, leaving a hidden void, or defeating a required service clearance. Treat lights and electrical boxes as coordination points, not as places to improvise. Device labels, local electrical requirements, and the approved ceiling construction determine the required clearances and covers.
Avoid compression that reduces the intended insulation depth or causes the ceiling lining to bulge. A compressed or folded piece may leave less effective coverage than its installed thickness suggests. Likewise, do not tear a facing, bend a board edge out of plane, or leave unsupported joints where the material can move after the finish is installed.
Gravity is the key difference between a wall cavity and many ceiling applications. Some products may hold temporarily between framing, but the permanent support method must be the one approved for the assembly. Depending on the construction, that could involve wires, mesh, straps, clips, pins, fasteners, hangers, or a purpose-designed ceiling system. Confirm the support material, spacing, fixing substrate, load path, and relationship to the lining. Do not assume a suspended-ceiling grid or ceiling tile is designed to carry added insulation without written confirmation.
Avoid the Ceiling Errors That Cause Rework
Most preventable errors occur at edges, changes in plane, and interfaces with other trades. Inspect them while the work is still visible.
Before enclosure, correct wet material, unintended gaps, unsupported sections, blocked ventilation, uncoordinated services, damaged control layers, and substitutions that do not match the approved ceiling detail.
A useful pre-close check begins at the perimeter. Look for voids where insulation meets walls, blocking, beams, hatches, and irregular framing. Check that narrow strips are supported and that each layer reaches the intended boundary. Inspect cutouts around services from both sides where access allows; a neat front face can still hide a gap behind a pipe or box.
Keep ventilation routes and required clearances open. In roof-level ceilings, insulation must not be pushed into a path reserved for ventilation or access. Around equipment, lights, ducts, and firestopping, do not borrow rules from another product or another country. The named product documentation, device information, approved assembly, and local requirements control the detail.
Moisture control also needs an assembly-specific answer. Do not apply the shortcut “always put a vapor barrier on the warm side.” The correct vapor and air-control strategy depends on climate, interior conditions, roof or ceiling layers, water management, and the assembly’s ability to dry. A facing or membrane only performs its intended role when it is the specified material and its seams, penetrations, and transitions are detailed and completed as designed.
Finally, inspect and document before the ceiling is closed. Verify product identity, location, orientation, thickness where measurable, fit, support, dryness, service coordination, ventilation, access, and adjacent control layers. Photograph areas that will be concealed and record corrections. If the ceiling is part of an acoustic or fire-rated construction, confirm that all listed components and penetrations match the approved assembly; insulation alone does not establish a complete assembly rating.
For broader product-form guidance, see rock wool insulation. For non-ceiling-specific handling and inspection, use the general rock wool installation guide. When requesting technical support, start with the ceiling type and intended outcome; drawings, cavity dimensions, product form, and local requirements can follow as needed.
Conclusion
Install rock wool in a ceiling with the specified product, accurate fit, permanent support, coordinated services and control layers, and a documented inspection before closure.